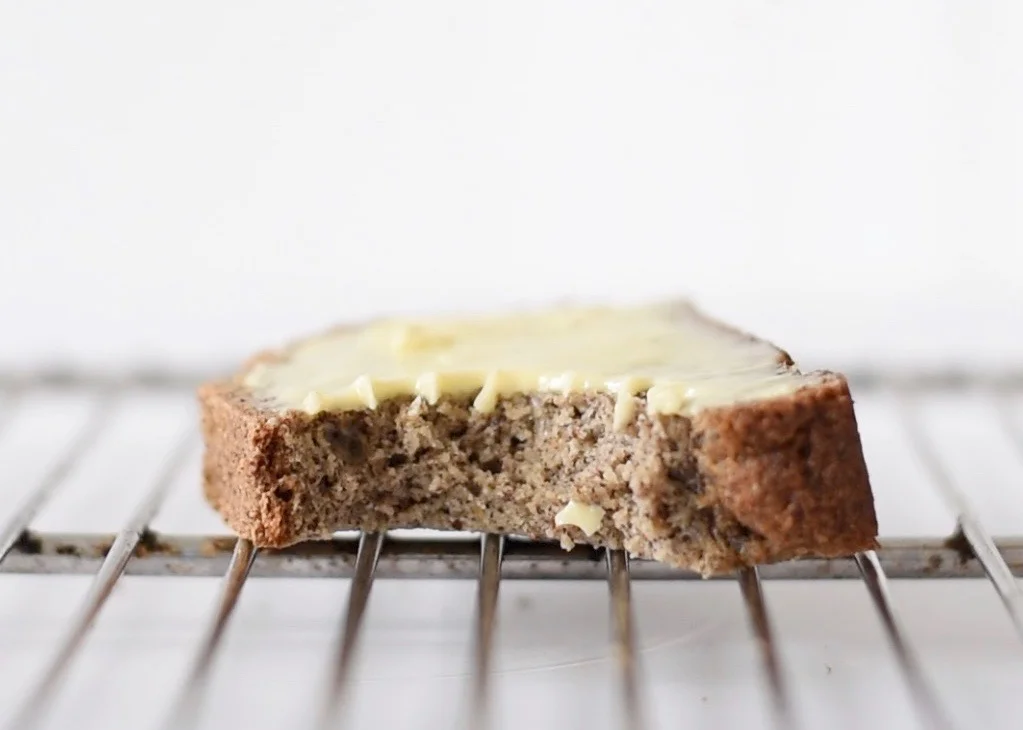
Gluten Free & Grain Free Dark Bread
This bread has become my new favorite.
I'm Danish, and therefore, naturally, love a piece of good ol' rye bread. However, being on a gluten free and grain free diet, put it out of the equation. Occasionally I still have a craving for a couple of slices of dark bread. So I've researched and found that the flour types I use in my recipe do not originate from grains. Yeah!
The bread is reminiscent of rye bread, has a slightly sweet taste and a delicate texture. Even my British hubby, who swears by the paperwhite toast, cannot keep his hands off my bread.
Gluten-Free & Grain Free “Rye Bread” Recipe
Important: Gluten is what gives a dough elasticity and lightness. The secret to being successful with your gluten-free baking is psyllium husks soaked in water and fluffy egg whites in unison with the high dosage of baking powder. That trick does an excellent job of getting this bread nice and adding some air pockets into it.
Psyllium husks soaked in water becomes gelatinous and helps to lift the dough. Without the husks, the glutenfree bread gets flat and dense.
You can avoid the eggs, but the psyllium husks is an essential ingredient in gluten-free baking.
DIY Grain-Free Flour Blend
An easy grain free flour blend to use in place of all purpose flour in most recipes.
Ingredients
600 g Quinoa flour ( you can mix white, black and red quinoa flour)
200 g Chestnut flour
200 g Tiger Nut Flour (Chufa Flour)
1 tsp. Baking powder
1 tsp. Salt
Instructions
Blend together and store in a secure container in a dry place (I prefer a large mason jar).
Ingredients for one bread:
3 cups (360 g.) Flour mix (see above) Or:
200 g Quinoa flour ( you can mix white, black and red quinoa flour)
80 g Chestnut flour
80 g Tiger Nut Flour (Chufa Flour)
1 tsp. Salt
9 g. Baking powder (divided)
20 g. Psyllium husks
200 g. Water
200 g. Coconut milk (full fat)
12 g. Apple Cider Vinegar
2 Eggs (divided)
Instructions:
Preheat the oven to 175°C /350 °F
Separate the yolks and the whites.
Add 2 g. (1/2 tsp.) baking powder to the egg whites, and beat until stiff.
Soak Psyllium husks in the water.
Mix the flour, baking powder and salt.
Add coconut milk, egg yolks, apple cider vinegar, and the psyllium husks mix.
Use your hand mixer or a food processor and whisk to combine.
Add the egg whites.
Gently process until the whites are fully incorporated.
Pour the dough into a loaf pan.
Bake immediately for 75 minutes or until deep golden brown and a toothpick inserted into the center comes out clean.
Let cool completely before slicing, preferably several hours. Otherwise, it can be a bit crumbly.
Slice gently.
Once cooled, store in a covered container or cover with plastic wrap or Beeswax Wrap at room temperature to keep fresh. Freeze after that to keep fresh for up to one month.
Enjoy!


